Bath bombs are a fun way to relax and enjoy your bath, but sometimes they can be difficult to remove from their molds. If you’re having trouble getting your bath bomb out of its mold, there are a few things you can try, so let’s look at suggestions for how to get bath bombs out of molds.
What are the benefits of making your own bath bombs?
Bath bombs are a fun, fizzy way to relax in the tub. Not only do they look and smell great, but they also provide a variety of health benefits. For example, the essential oils in bath bombs can help to improve circulation, relieve stress, and ease muscle pain.
The baking soda and citric acid in bath bombs can also help to exfoliate the skin, leaving you feeling refreshed and invigorated. And because you can customize the ingredients in your bath bombs, you can tailor them to your specific needs.
So whether you’re looking for a luxurious way to unwind or a natural remedy for aches and pains, making your own bath bombs is a great option.
Is it more affordable to make your own bath bombs than buying bath bombs?
Making your own fizzy bath bombs is typically more affordable than buying them, especially if you purchase the ingredients in bulk.
However, it’s important to note that the quality of the ingredients you use will affect the quality of your finished product. So if you want to make sure you’re getting a high-quality bath bomb, it’s worth investing in quality ingredients.
What supplies do you need to make bath bombs?
To follow a DIY bath bomb recipe, you’ll need a few basic supplies. These include:
- Baking soda / baking powder
- Citric acid
- Cornstarch
- Epsom salt
- Food coloring
- Cocoa butter
- Parchment paper / paper towels
- Fragrance oil, mineral oil or essential oils
- Mold for bath bombs to create the ball shape (silicone molds are best, but you can get metal bath bombs molds, or stainless steel bath bomb molds too)
- Water
- Bath bomb makers kit (if you don’t to do the bath bomb recipe entirely yourself)
You can find almost of these dry ingredients online or at your local craft store.
How to make bath bombs?
Making bath fizzies is a relatively simple process, and will add enjoyment to your bath time, but there are a few things you’ll need to do to ensure your bombs turn out perfectly. Here’s a quick overview of the steps you’ll need to take:
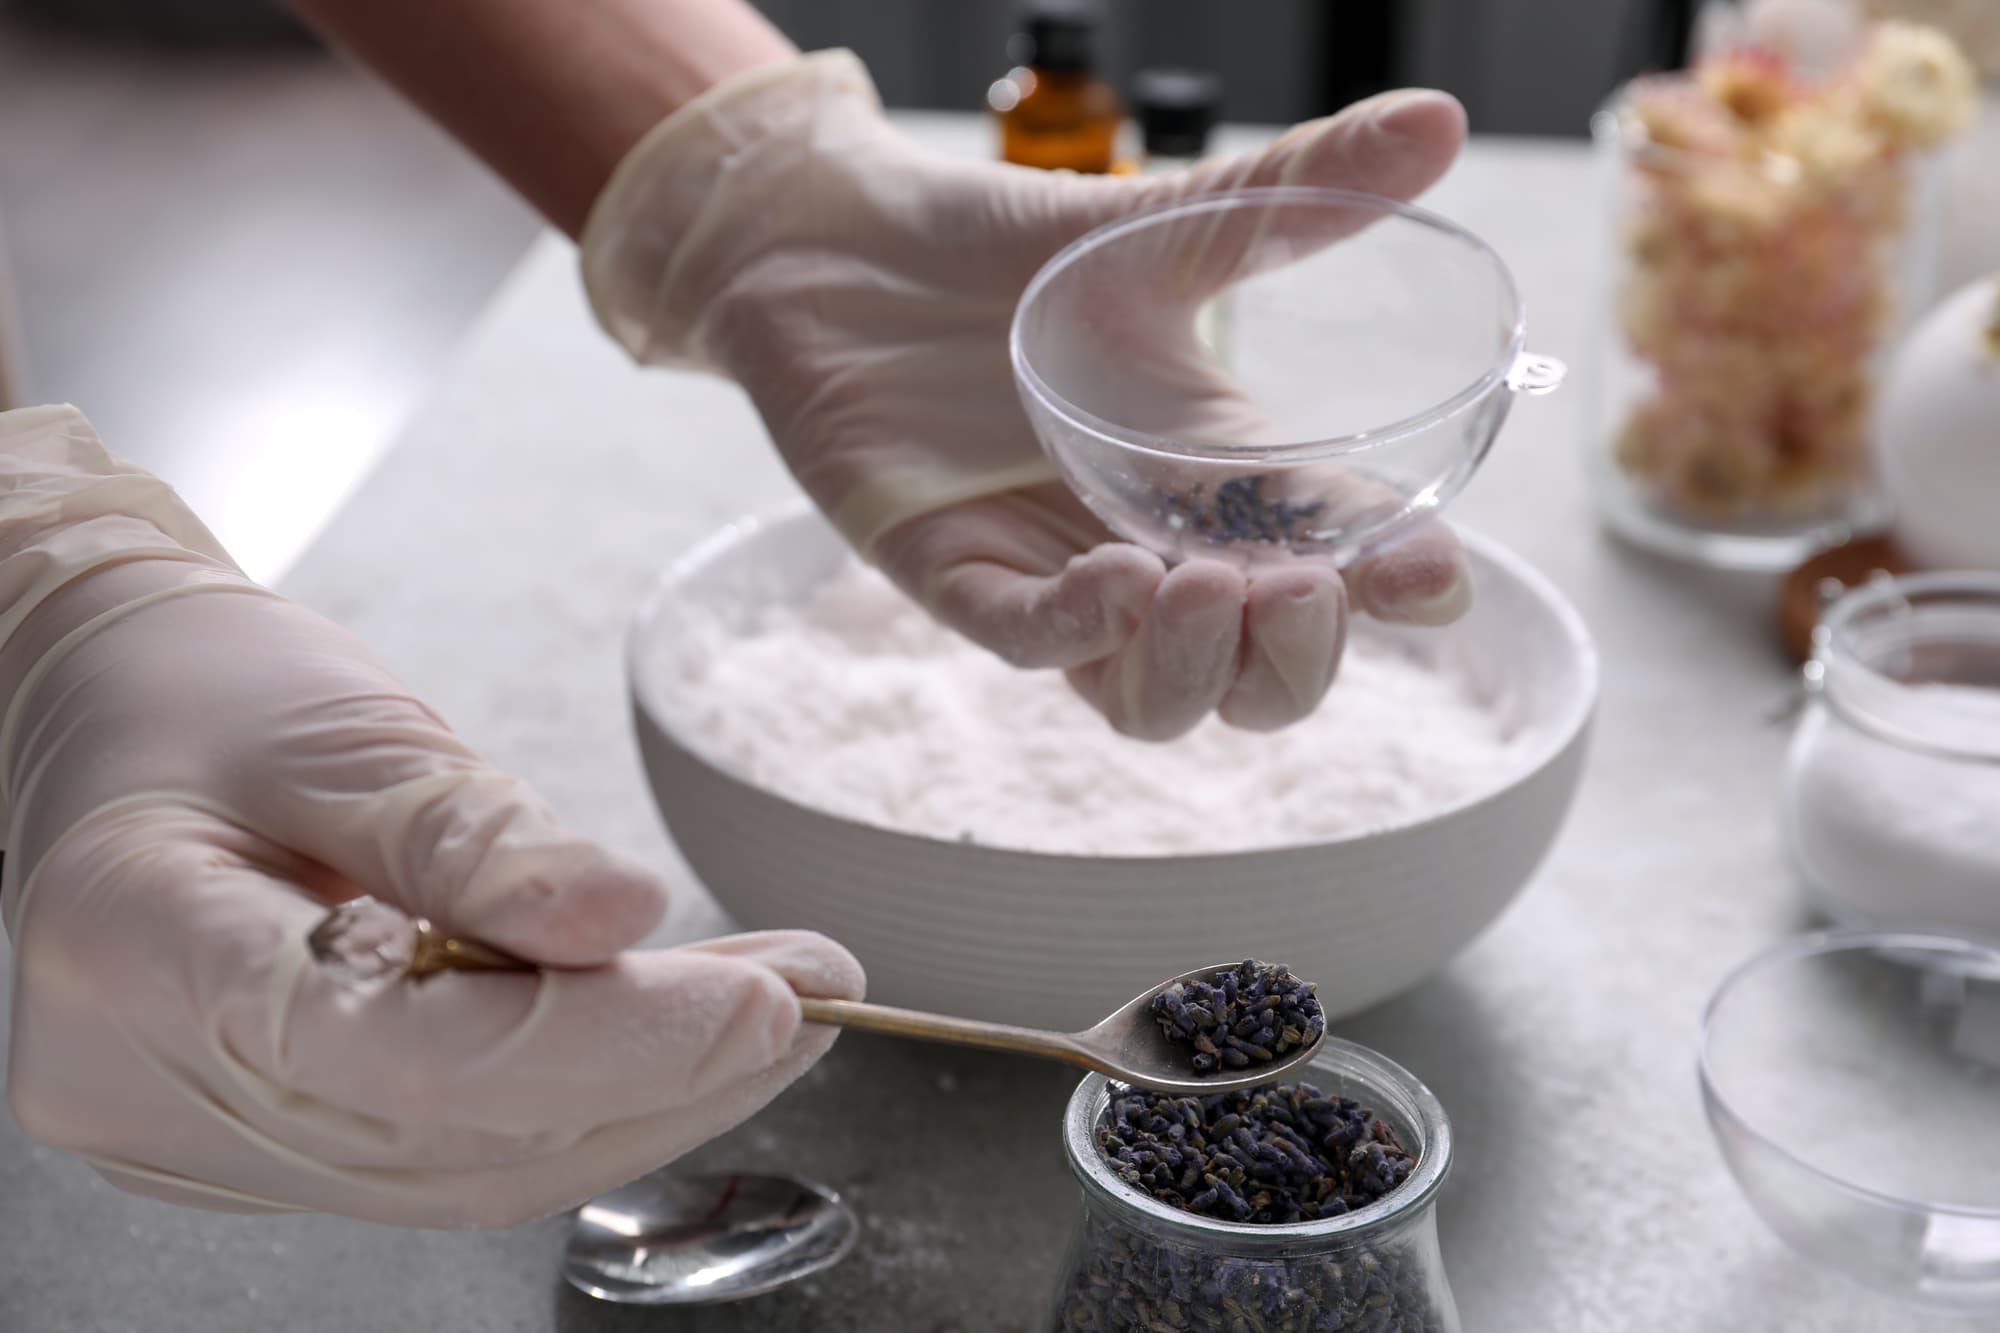
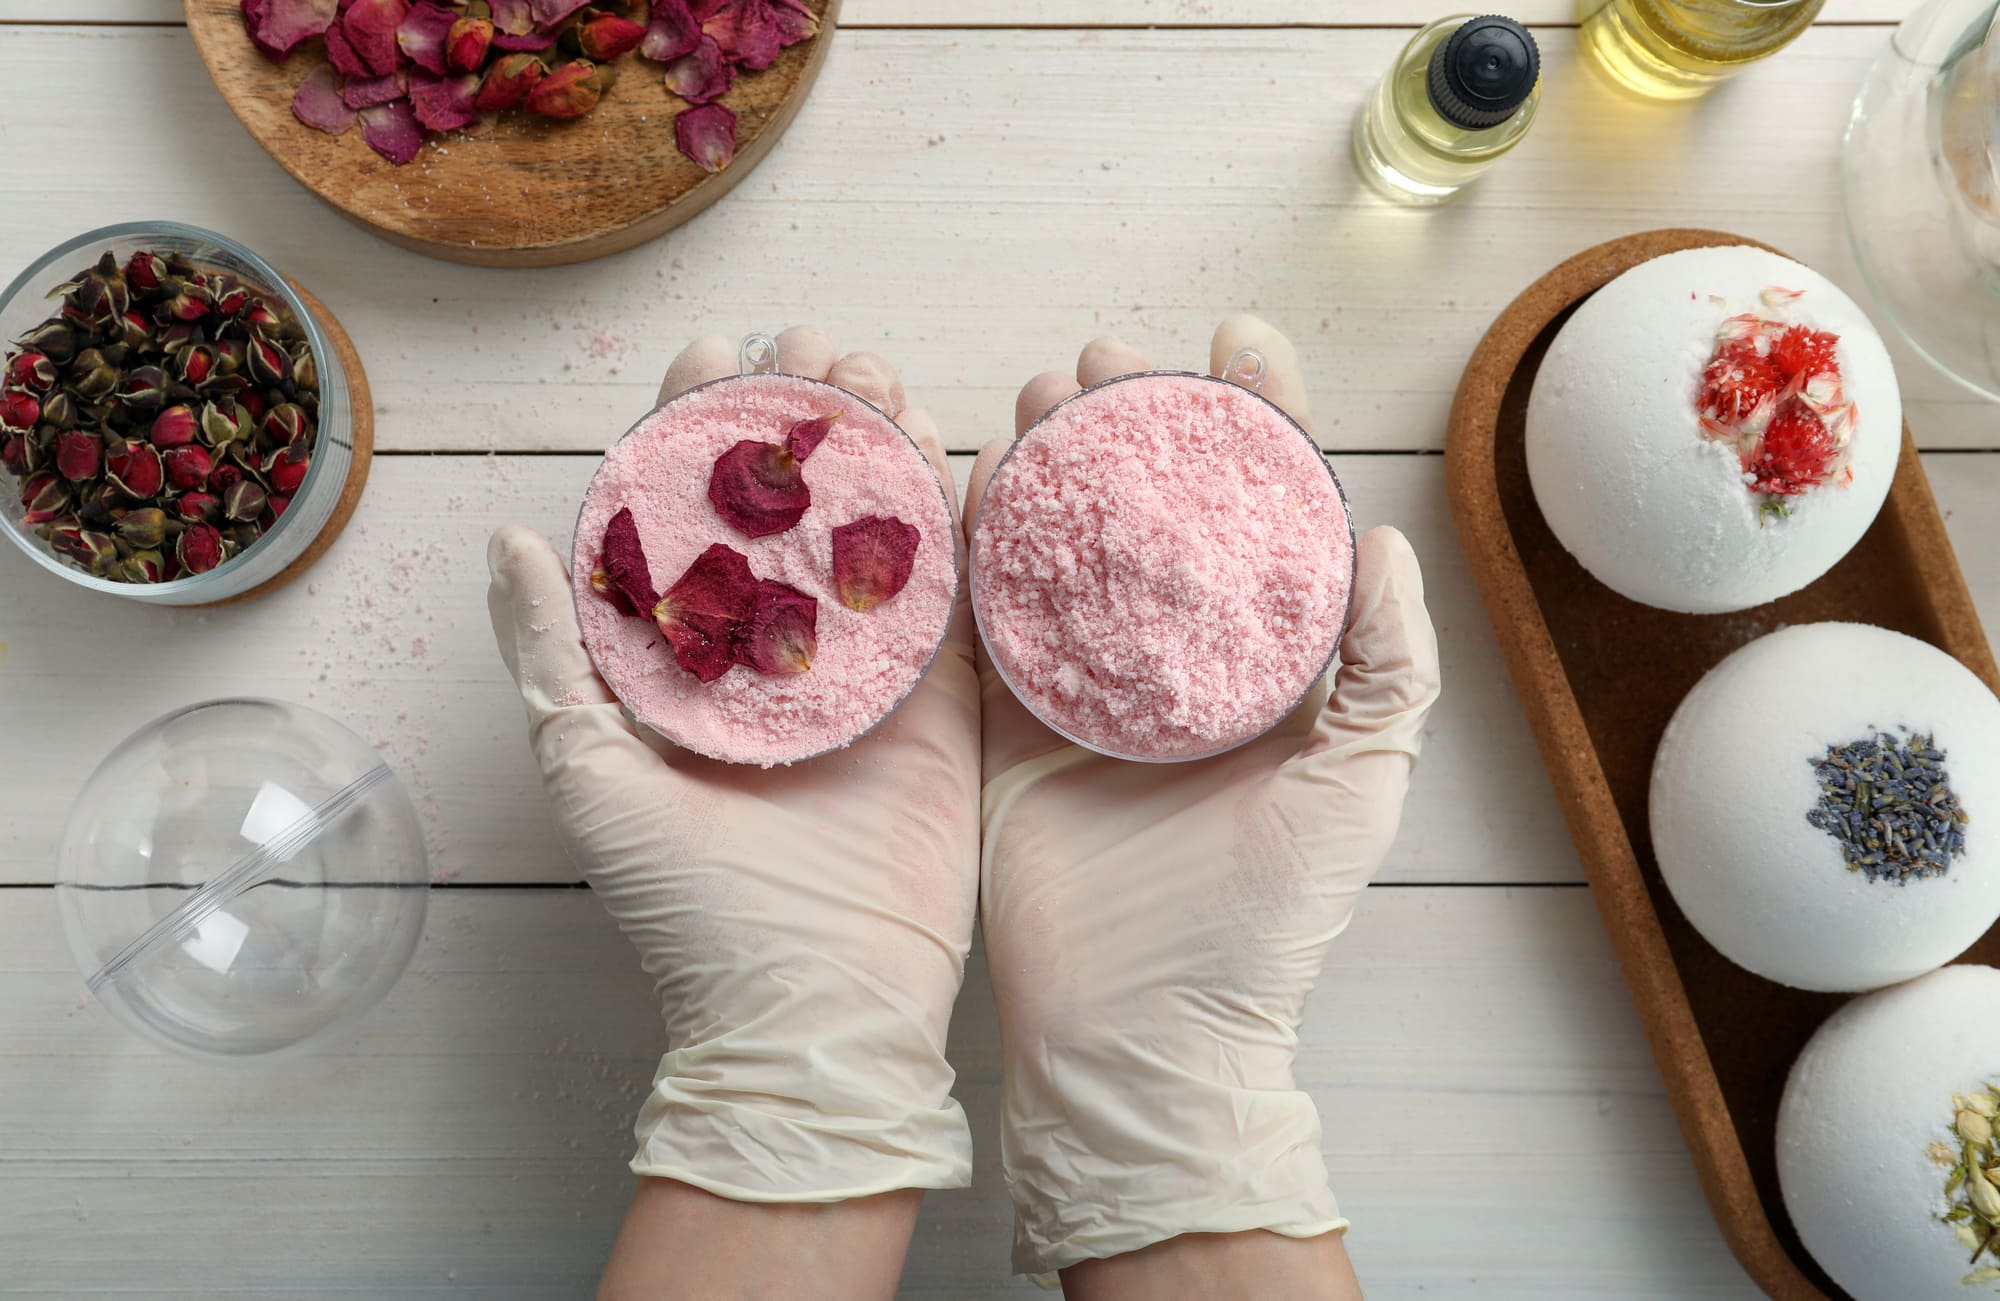
1. Combine the dry ingredients. In a large bowl, mix together the baking soda, citric acid, cornstarch, and Epsom salt.
2. Add the wet ingredients. Slowly add the water, food coloring, and fragrance oil or essential oils to the dry ingredients. Stir until everything is evenly mixed.
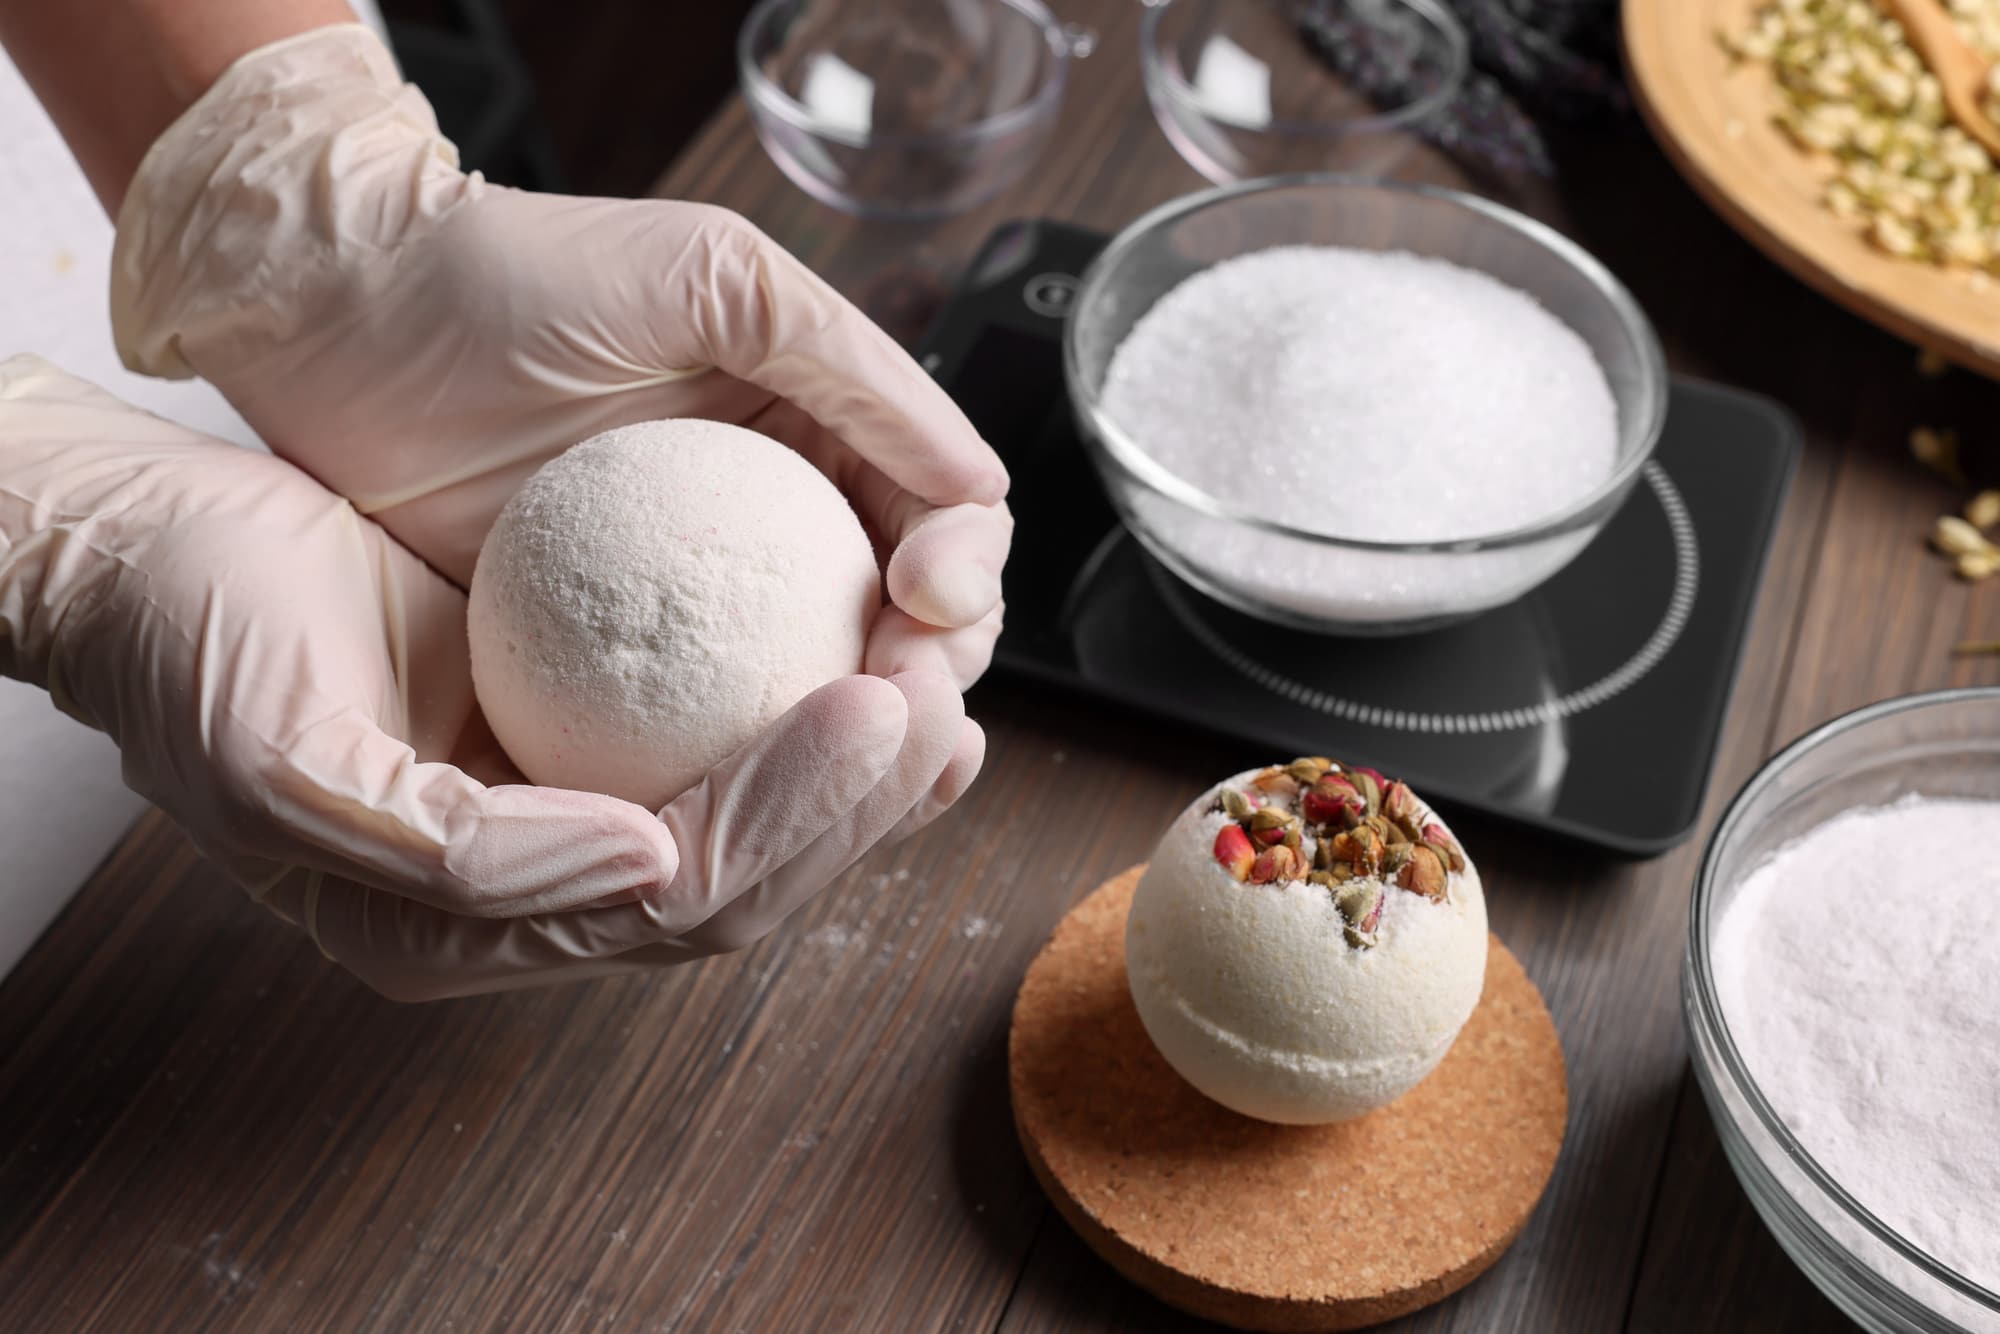
3. Pack the bath bomb mixture into the molds. Use your hands or a spoon to pack the mixture into the molds. Be sure to pack it in tightly, so the bombs hold their shape.
4. Let the wet ingredients in the bath bombs dry. Allow the bombs to dry in the molds for 24 hours before using them.
5. Enjoy! Once the bath bombs are dry, they’re ready to use. Drop one into your tub and enjoy!
Where can you buy bath bomb molds from?
You can purchase bath bomb molds from good quality craft shops. However, there’s no need to buy special bath bomb molds – you can use anything that’s round and will hold its shape when filled with mixture, but bath bomb molds will give you a more uniform shape.
Silicone muffin trays work well, as do plastic or metal hemisphere molds. If you’re feeling creative, you could even use an egg carton!
The important thing is that the molds are clean and dry before you add the mixture, otherwise the bombs may not set properly. Once you’ve got your molds sorted, it’s time to start making some bombs!
When to take bath bombs out of molds?
After you’ve mixed your ingredients together and spooned the mixture into molds, it’s time to let the bath bombs set. The length of time this takes will vary depending on the size, shape, and depth of your molds.
However, as a general rule, you should allow the bath bombs to set for at least 24 hours. This will give them enough time to harden and achieve the desired shape.
After 24 hours, carefully remove the bath bombs from their molds and store them in an airtight container. When they’re submerged in water, they’ll fizz and dissolve, releasing their aromatic essential oils into the air.
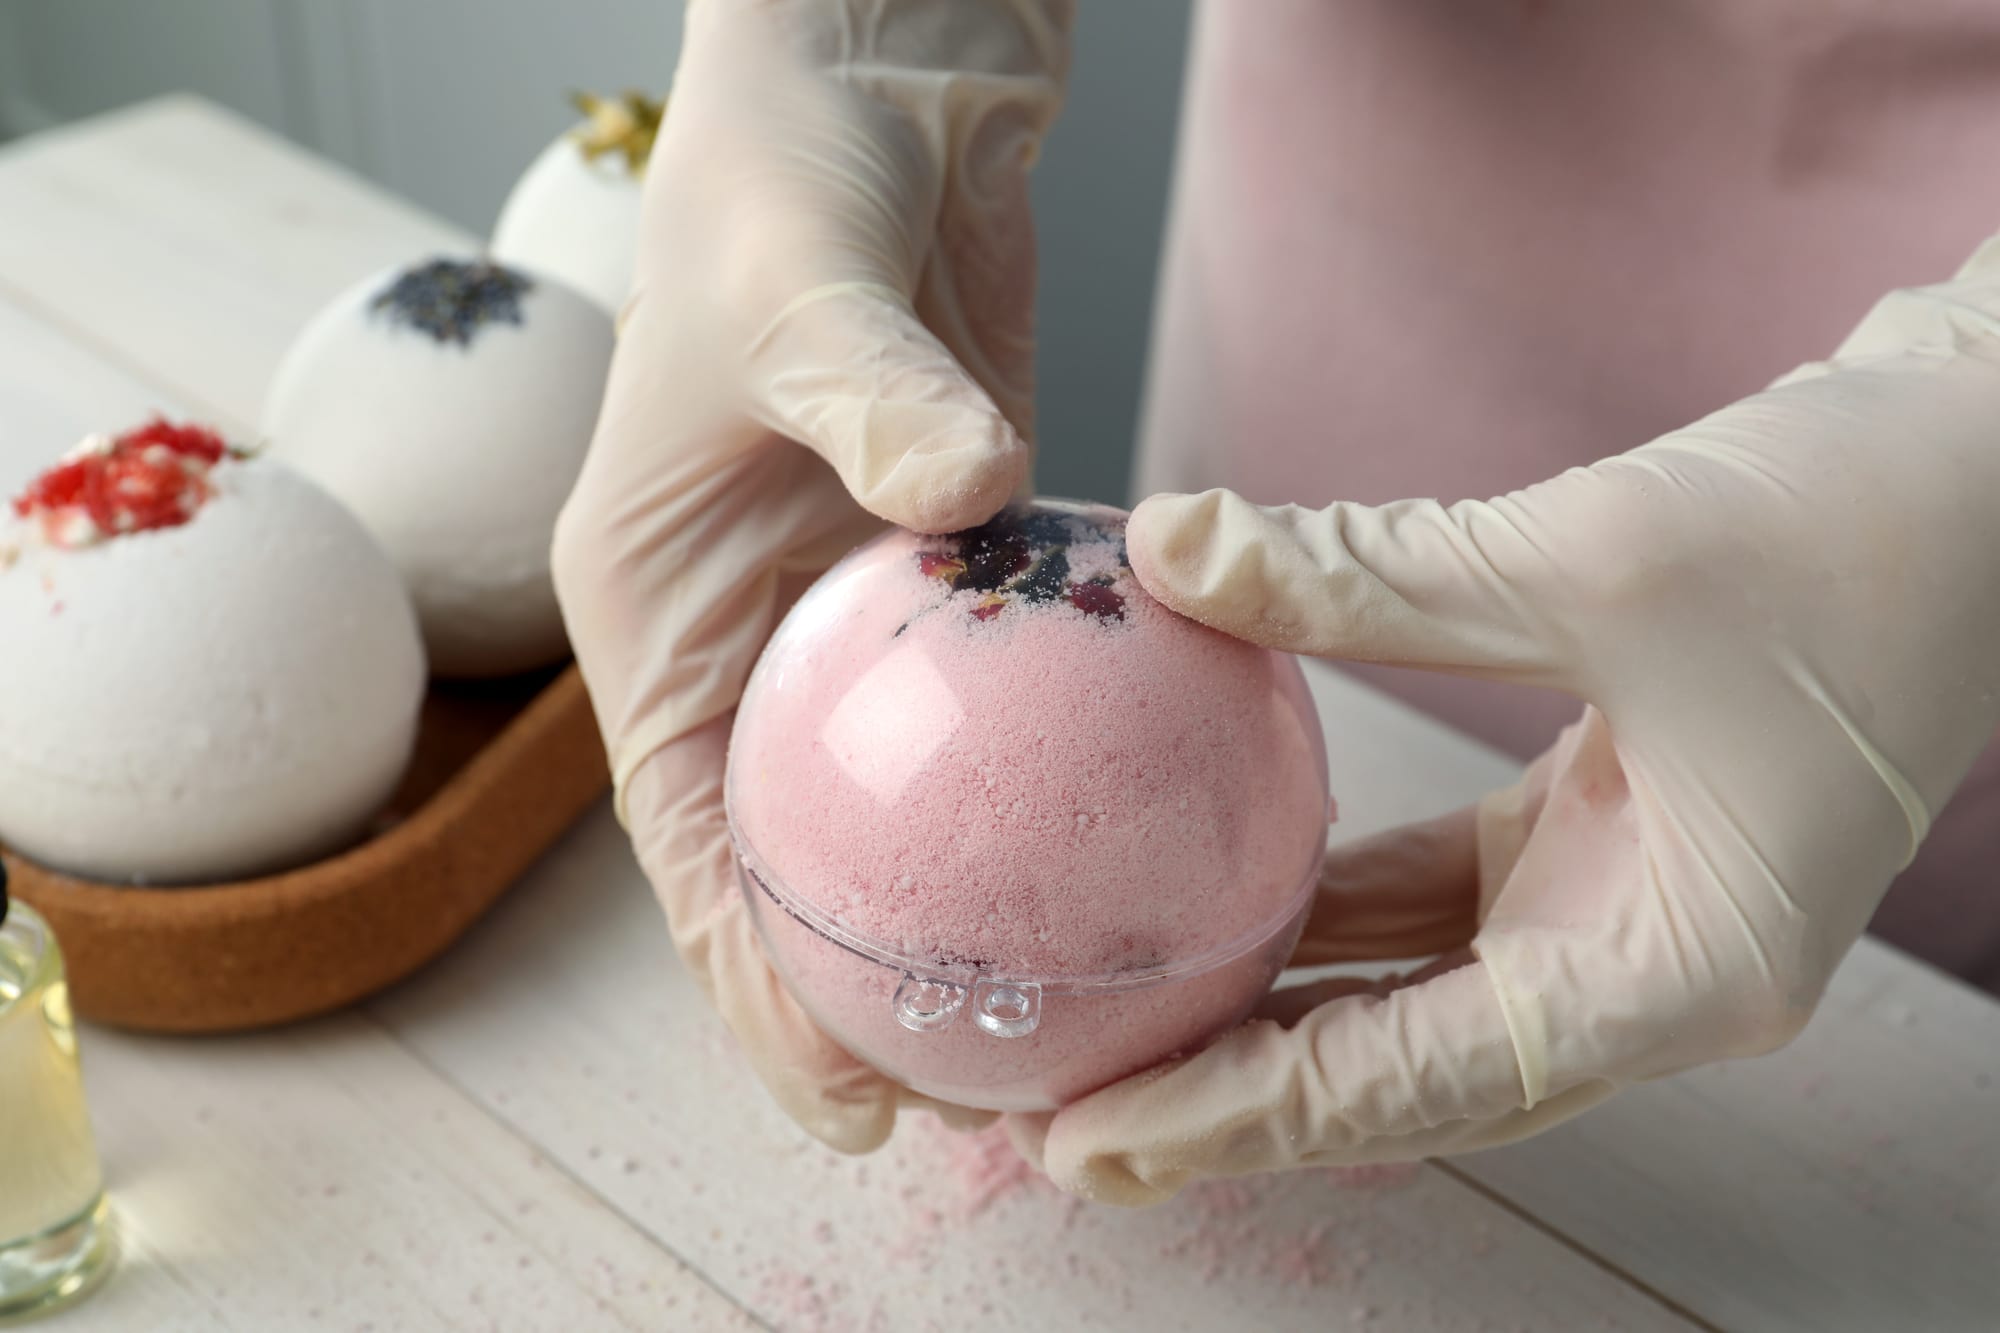
How to get bath bombs out of molds?
The best way to remove bath bombs from molds is to use your fingers. Gently press down on the top of the bomb and wiggle it until it loosens and pops out. If you’re having difficulty removing the bomb, try running the mold under warm water for a few seconds. This will help to loosen the bomb and make it easier to remove.
Why are my bath bombs sticking to the mold?
One of the most frustrating things that can happen when making bath bombs is having them stick to the mold. There are a few possible reasons for this. First, the mixture may be too wet.
When this happens, the bomb will start to dissolve as soon as it comes into contact with the water, making it difficult to remove from the mold. Second, the mixture may be too dry. This can cause the bomb to crack and crumble when you try to remove it from the mold.
Finally, there may be something in the mold that is causing the bomb to stick. This could be anything from soap residue to moistened powder. Whatever the cause, there are a few simple solutions that can help release your bath bomb from its mold.
First, try lightly tapping the mold on a hard surface. This will help loosen any tight spots. If that doesn’t work, try running a blunt knife or spatula around the edge of the mold to release the bomb.
If all else fails, you can always place the mold in the freezer for a few minutes. This will usually cause the bomb to contract and pop right out.
Is it safe to make your own bath bombs?
Yes, it is safe to make your own homemade bath bombs. However, there are a few safety concerns to keep in mind. First, when handling the dry ingredients, be sure not to inhale them.
Inhaling the powder can irritate your lungs and cause difficulty breathing. Second, when adding the essential oils or fragrance oil to the mixture, be sure to use gloves.
Some essential oils can cause skin irritation. Finally, when using the bath bomb, be sure to remove any jewelry before getting into the tub. The baking soda in the bomb can tarnish metals like silver and gold.
How to make bath bombs without citric acid?
There are a few ways to make bath bombs without citric acid. One option is to use cream of tartar. This is a powdery substance that is made from tartaric acid. It can be found in the spice aisle of most grocery stores.
Another option is to use lemon juice or vinegar. Both of these liquids contain acetic acid, which can be used in place of citric acid. Finally, you could also try using baking soda. Baking soda contains sodium bicarbonate, which can be used as a base ingredient in bath bombs.
How to make bath bombs with food coloring?
Adding food coloring to your bath bomb mixture is a great way to give them some extra pizzazz! To do this, simply add a few drops of food coloring to the mixture and stir until evenly distributed.
You can use any color of food coloring you like. Just be sure to use oil-based food coloring, as water-based food coloring will cause the bath bomb to fizz and dissolve too quickly.
How to make bath bombs with essential oils?
Essential oils are a great way to add some extra aromatherapy benefits to your bath bomb. To add essential oils, simply add a few drops to the mixture and stir until evenly distributed.
You can use any type of essential oil you like within the bath bomb mix, but some good options include lavender, chamomile, and peppermint. Just be sure not to use too much, as too much essential oil can cause skin irritation.
Summary
There are a few things you can do to get your perfect bath bombs out of molds. One is to lightly tap the mold on a hard surface. Another is to run a blunt knife or spatula around the edge of the mold. Finally, if all else fails, you can place the mold in the freezer for a few minutes.